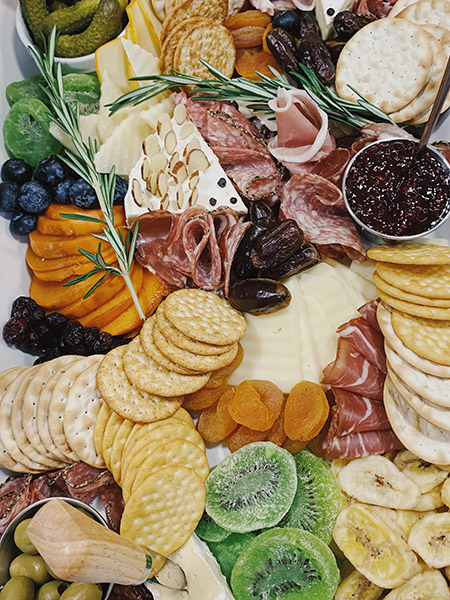

Charcuterie boards are all the rage and justly so, as they are elegant, rich and absolutely perfect for any gathering, picnic, or even for a lazy Friday night with your significant other. There are more than a few stores where you can buy a charcuterie board, but curating ingredients to make your own is a lot more fun.
First things first, there are no rules when it comes to making a charcuterie board. You can add anything you want, or customise them according to a theme, the possibilities are endless! However, there are a few basics that you should know to make sure it turns out to be as elegant as you want it to be.
Step one - The foundation
Finding the perfect board is the first step towards making that centrepiece of a platter. You can always find one from the myriad of online stores. If all fails, you can always opt to get a large cutting board, which works just fine. In addition to the board, get a few bowls and a cheese knife to create a complete look.
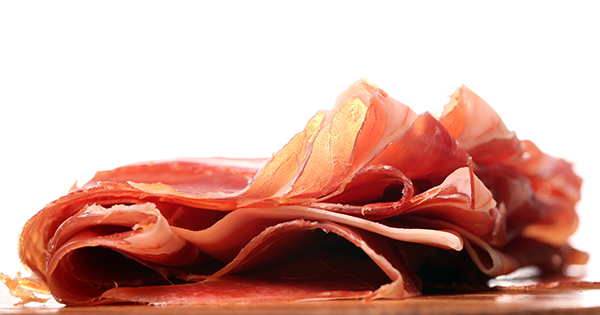
Step two - Getting the meat right
Have a selection of cured meat as this is the main element of the platter. Some of the go-to meat are salami, prosciutto, chorizo, calabrese and pepperoni. You can most of these from supermarkets and grocery stores online.
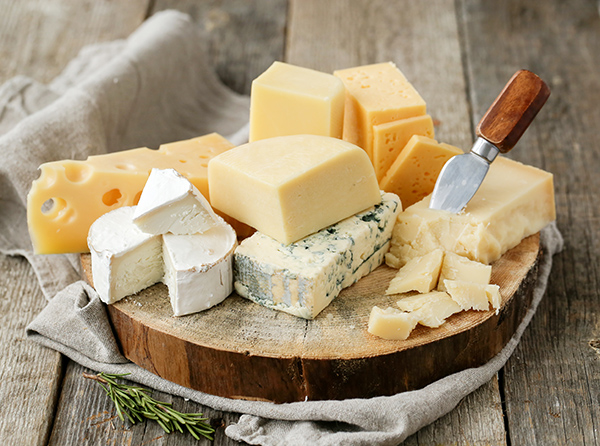
Step three - Pick your cheese
Cheese is the best part of a charcuterie board. There are many varieties of cheese that you can pick, depending on what you like from soft, rich and buttery cheeses like brie to cheddar or gouda or even a salty blue cheese. A rule of thumb in preparing a charcuterie board is to have soft cheese, semi-soft cheese and hard cheese to make the best combination.
Step four - Add antipasti
Colourful antipasti make all the difference in your charcuterie board. Olives, sundried tomatoes, and roasted peppers are some of the most popular antipasti you can use for the platter. This would add colour and flavour, keeping your board interesting and not to mention, delicious.
Step five - Dips and spreads!
Add a few fun spreads to boost the flavour of your charcuterie board. Make sure you hit the right balance between sweet and savoury when you select dips. For instance, if you have honey and fruit jams, add some hummus or a spicy sauce to keep things fresh.
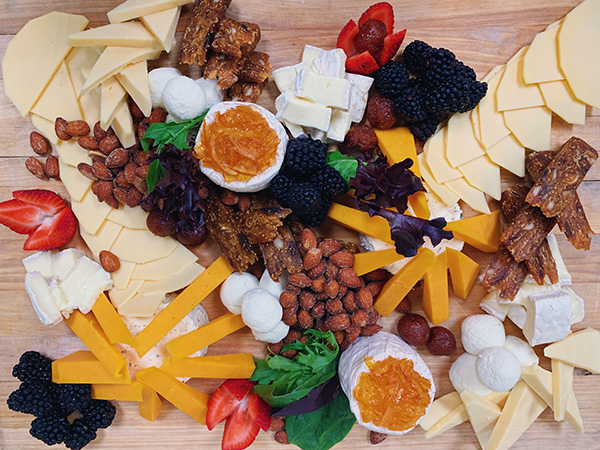
Step six - Add fruits, veggies and nuts.
Add a few varieties of fruits and vegetables to add more colour to your board. You can always have more of these if your guests are vegetarian or vegan. Add a handful of grapes, a few slices of apples, a few berries and my personal favourite, apricots. You can also make a tropical twist with cubed pineapples, mangoes and banana slices (tip: dip them in chocolate!).
Almonds and cashew pair well with cheddar and they are the go-to selection of nuts. You can roast the cashews for the adults and caramelise the almonds if you have kids coming over.
Step seven - Select the vehicle
The carbs carry all other flavours on them, making them the vehicle of your charcuterie board. You can slice up a fresh baguette, break open a packet of crispy crackers and even have a corner for warm pita triangles. A stroll in the biscuit aisle of the supermarket and your bakery will give you many options to pick from.
Once all your ingredients are placed, you can get creative. Sprinkle a dash of honey, add a few herbs such as rosemary and parsley and give it a beautiful and rustic look.
Ta-da! You have your customized charcuterie board made for you and your loved ones.